Preparation
Before we get to the main content of this workshop, we need to reset the web application.
Deploy the Backend
Download the below source code.
- Download file fcaj-book-shop.zip here: fcaj-book-shop.zip
Unzip the source code, open template.yaml.
Change tranvix.click value to your domain name.
route53HostedZoneName:
  Type: String
  Default: tranvix.click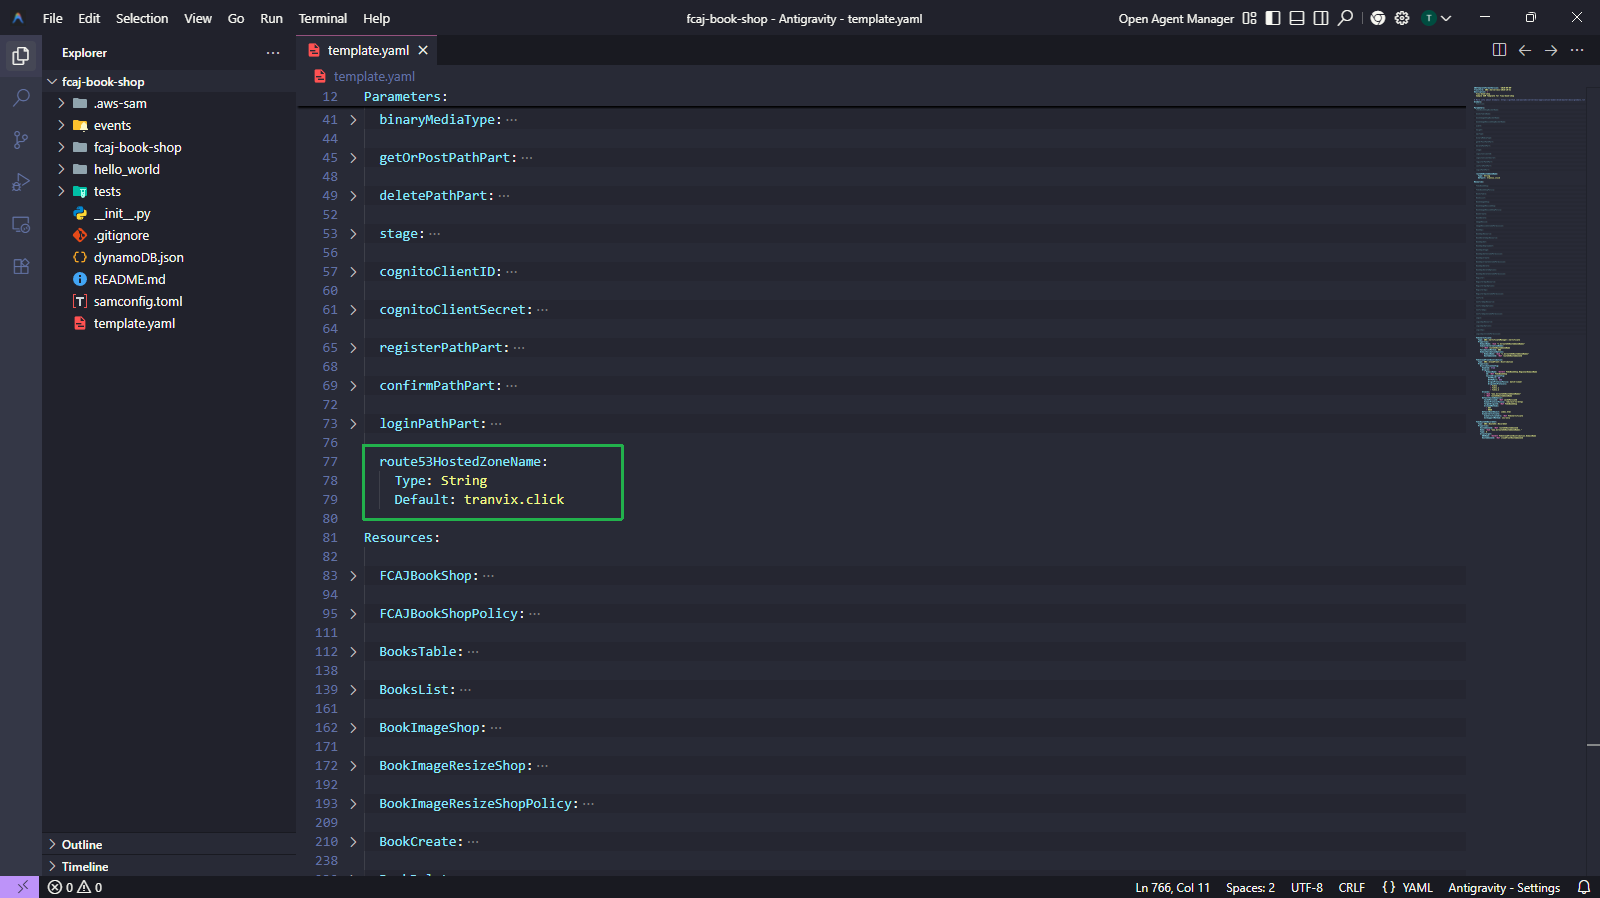
Run the below commands.
Ensure you have the AWS CLI and SAM CLI installed on your machine, configure AWS credentials before running the commands.
sam validate
sam build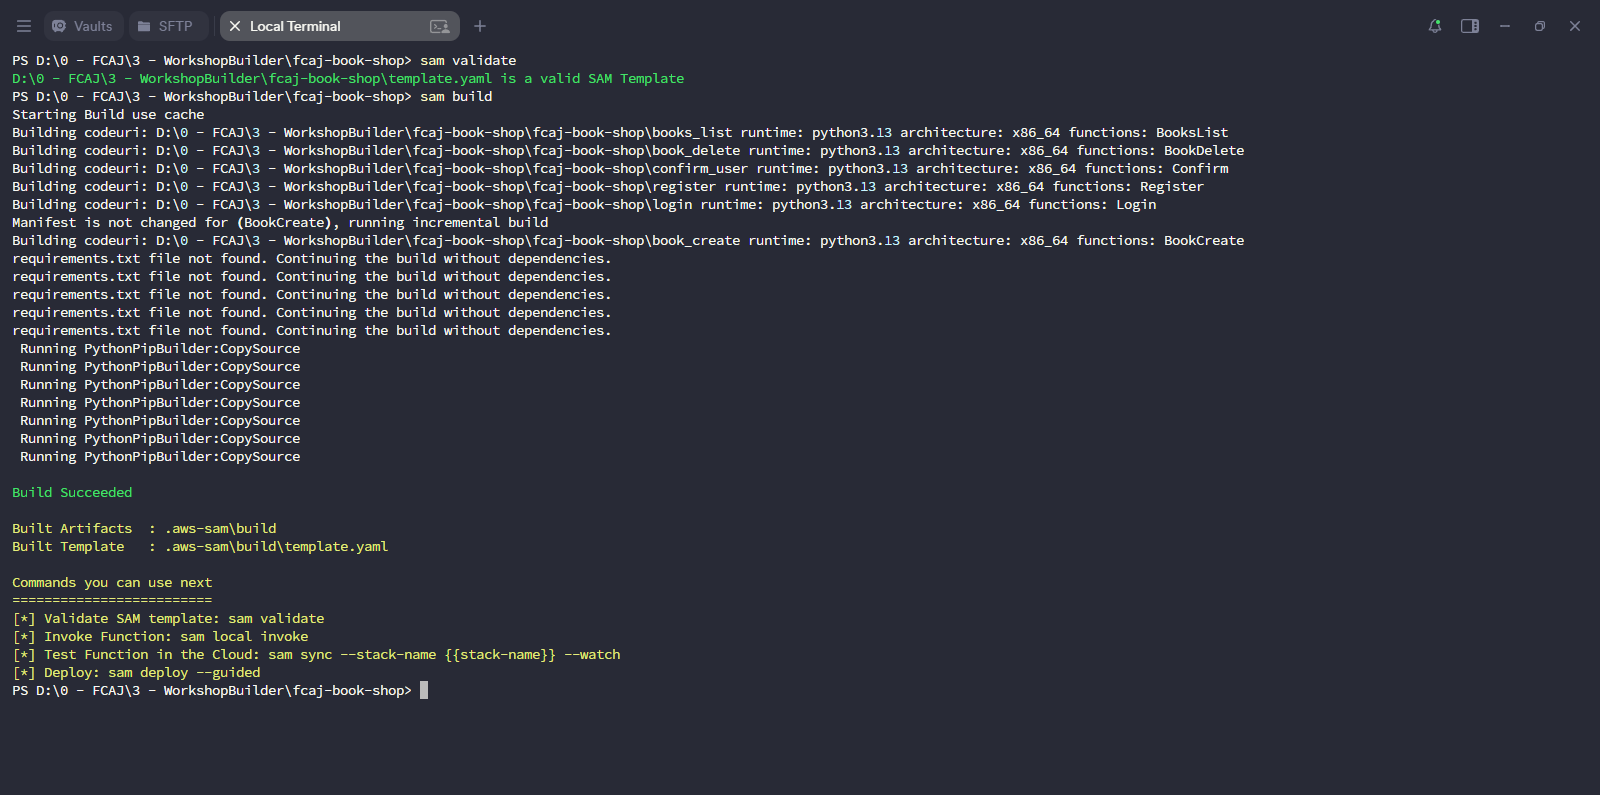
Run the below command to deploy the SAM application.
sam deploy --guidedEnter the following content. Leave as default.
Stack Name []:
fcaj-book-shopAWS Region []:
us-east-1Confirm changes before deploy [Y/n]: Y
Allow SAM CLI IAM role creation [Y/n]: Y
Disable rollback [y/N]: N
Save arguments to configuration file [Y/n]: Y
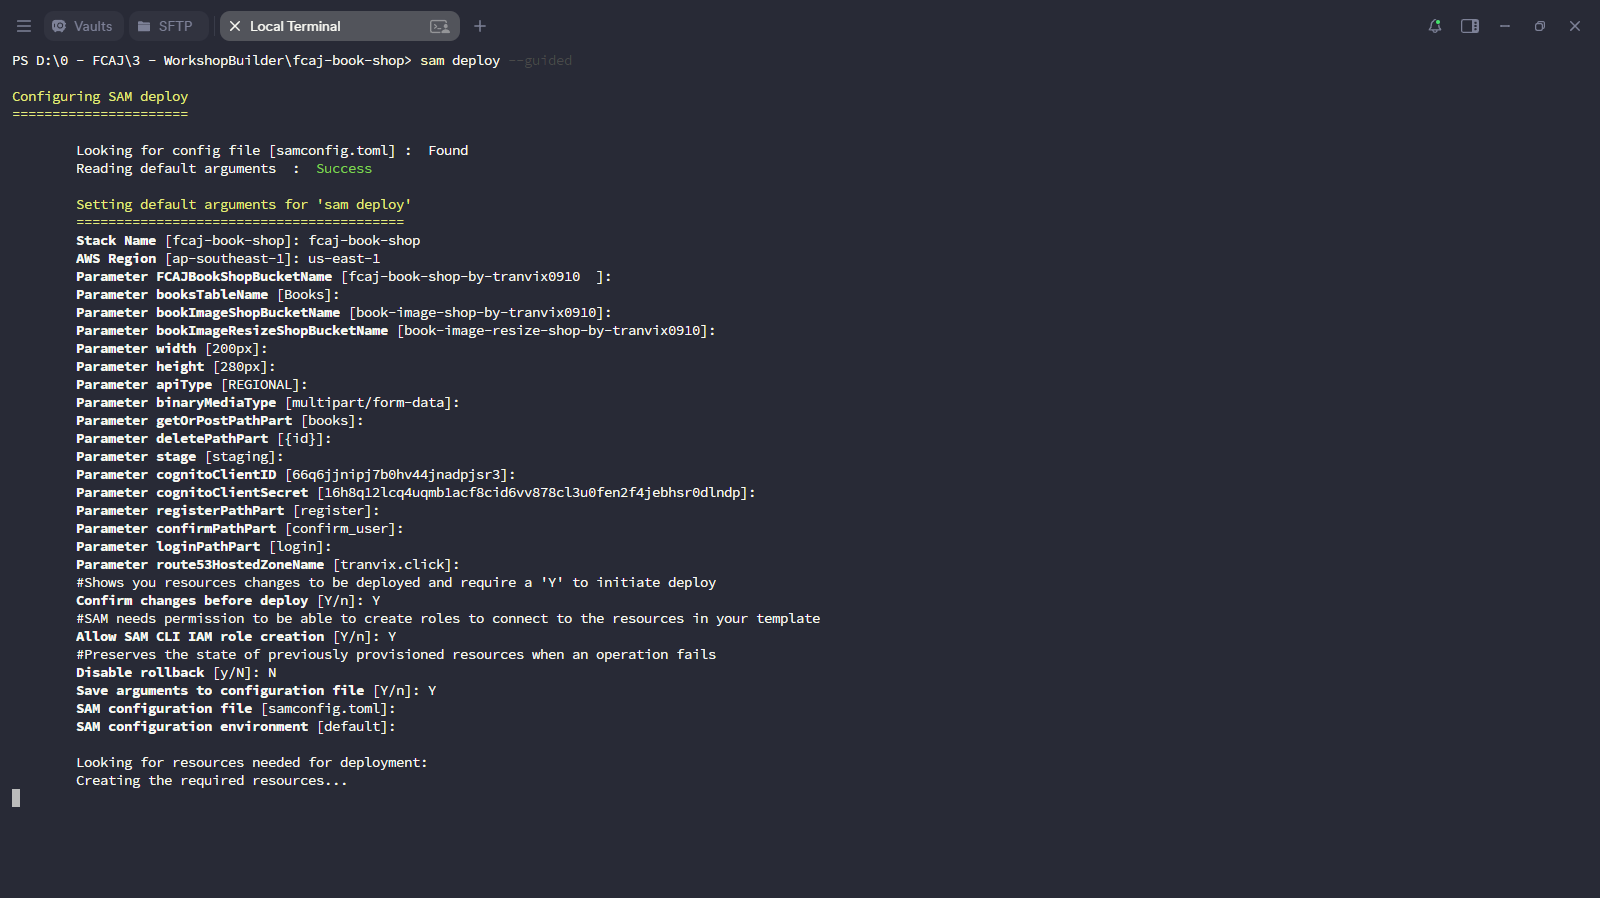
Wait for the deployment to upload and initiate.
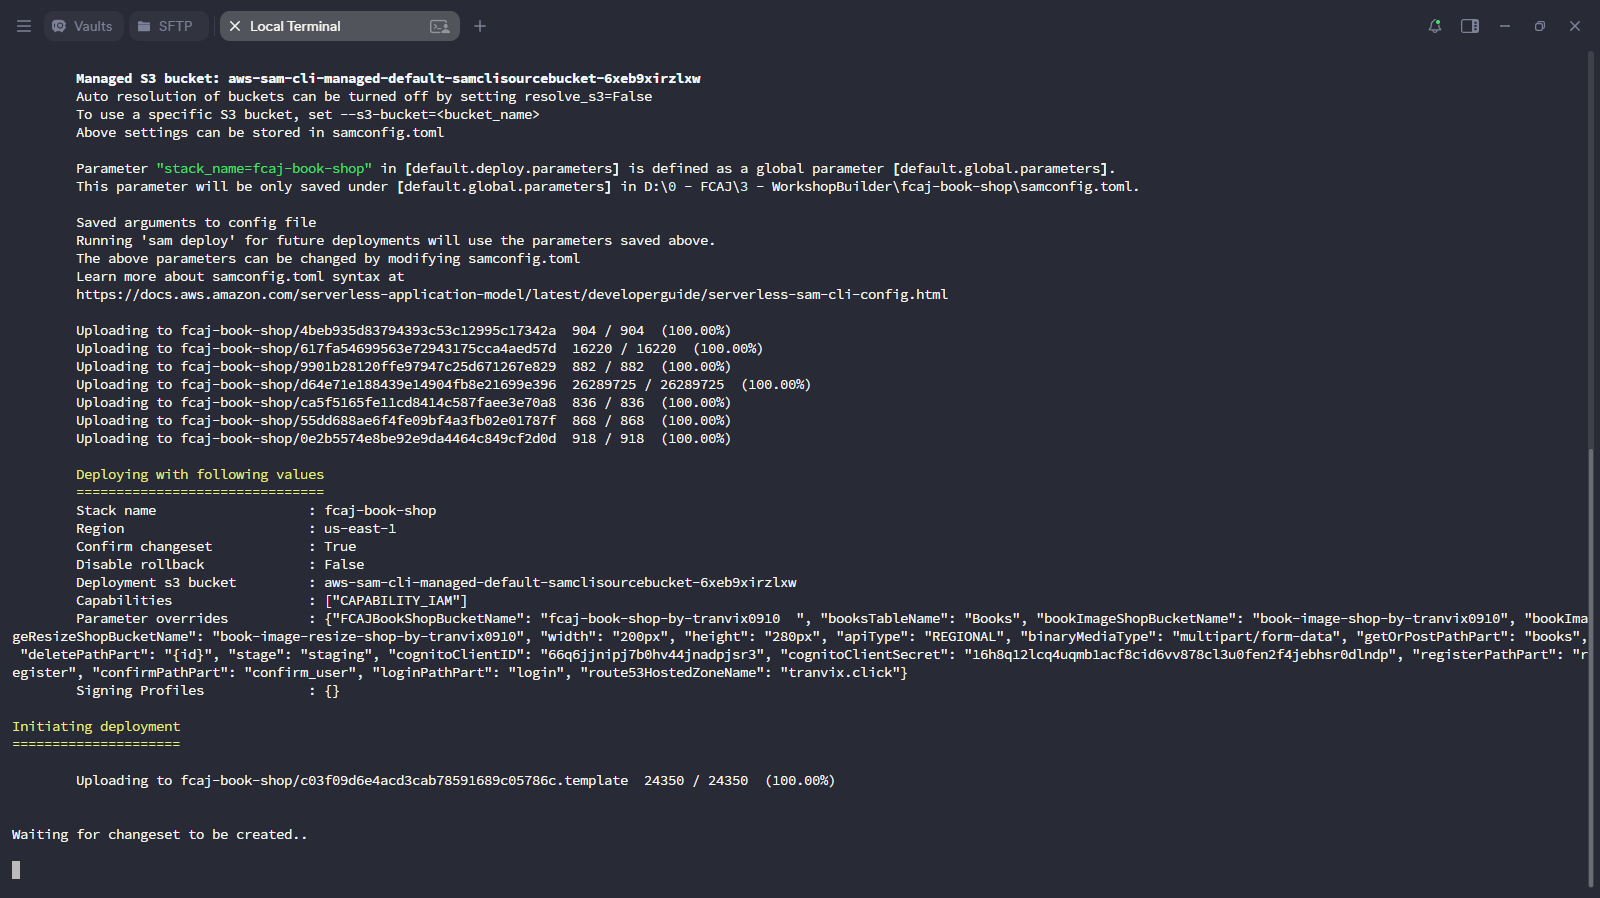
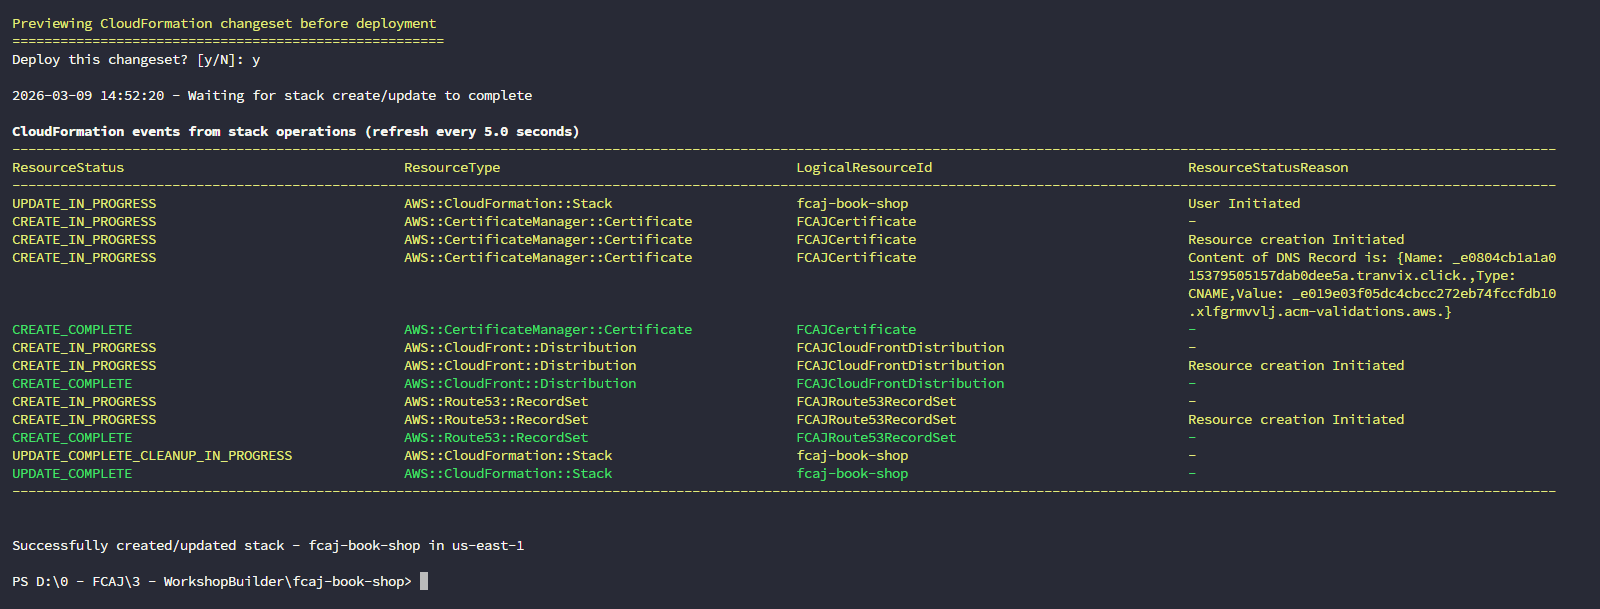
Review the CloudFormation changeset and confirm the deployment by typing
y.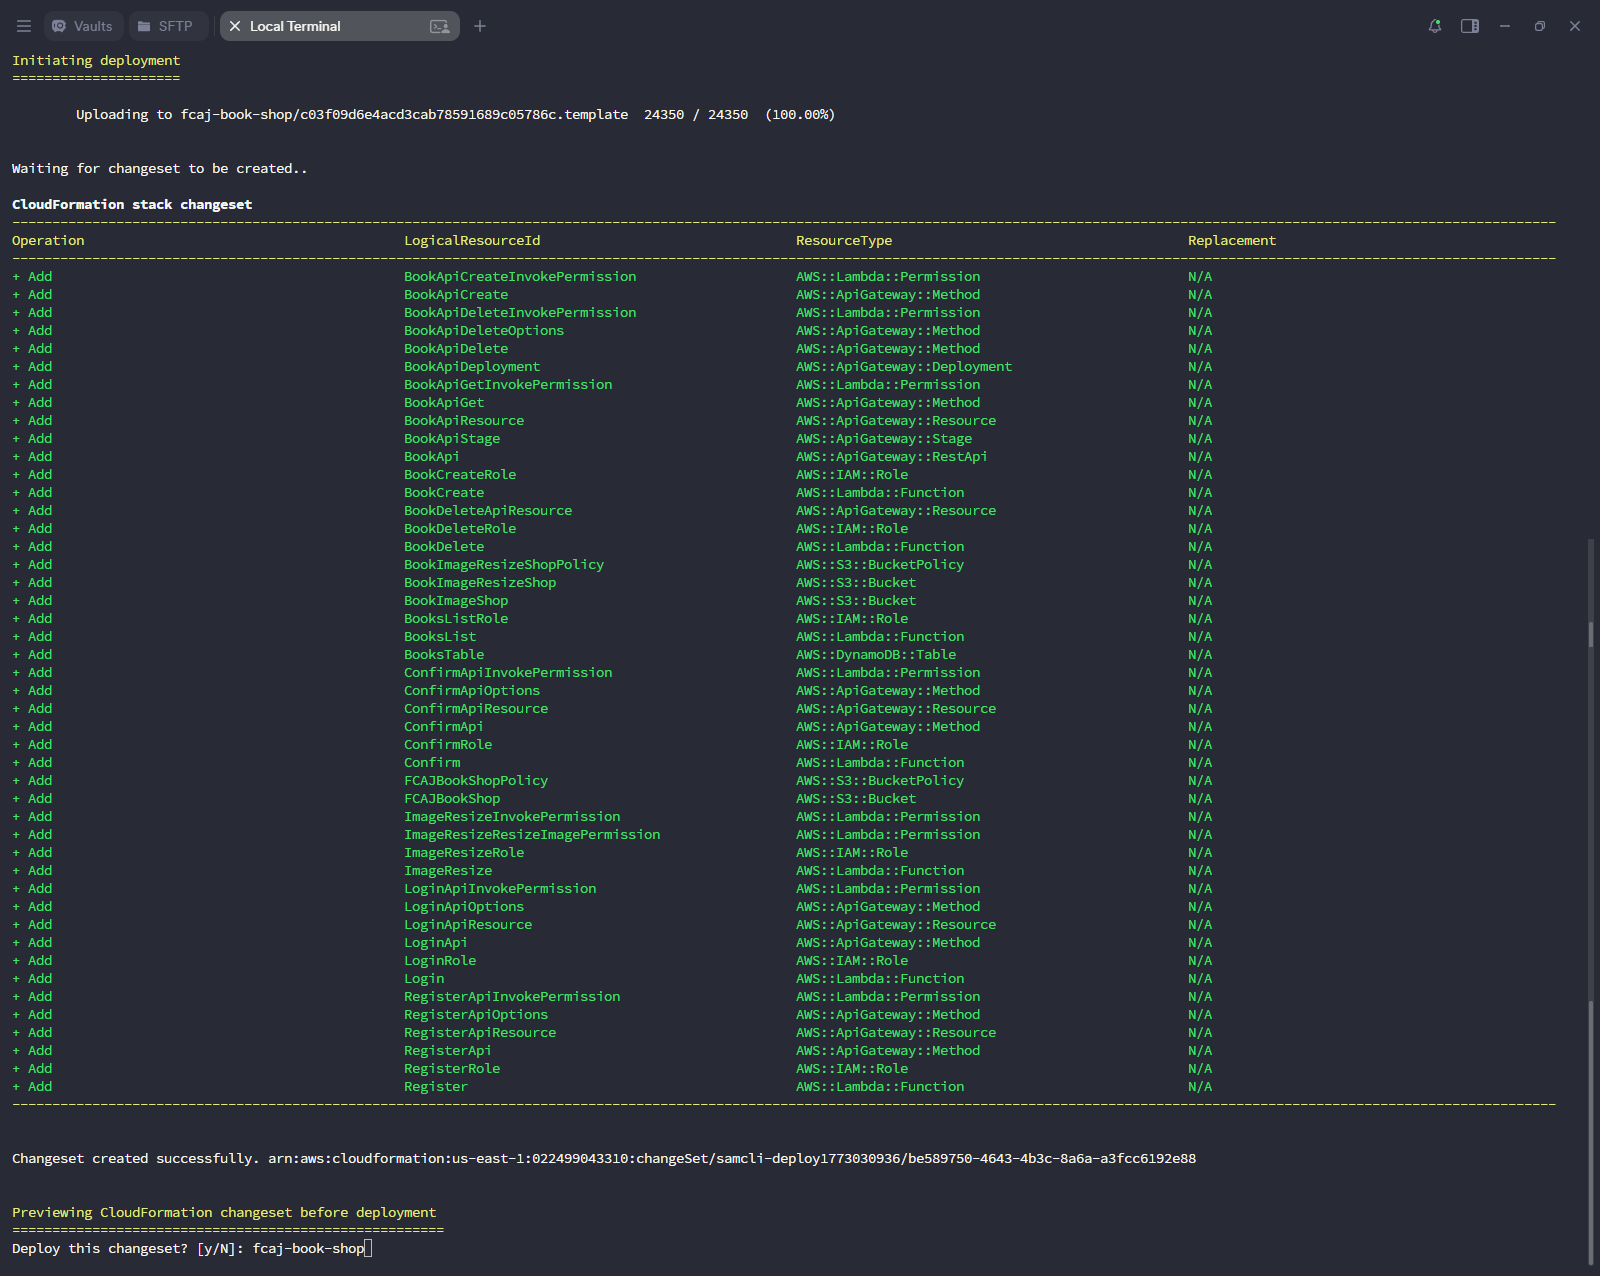
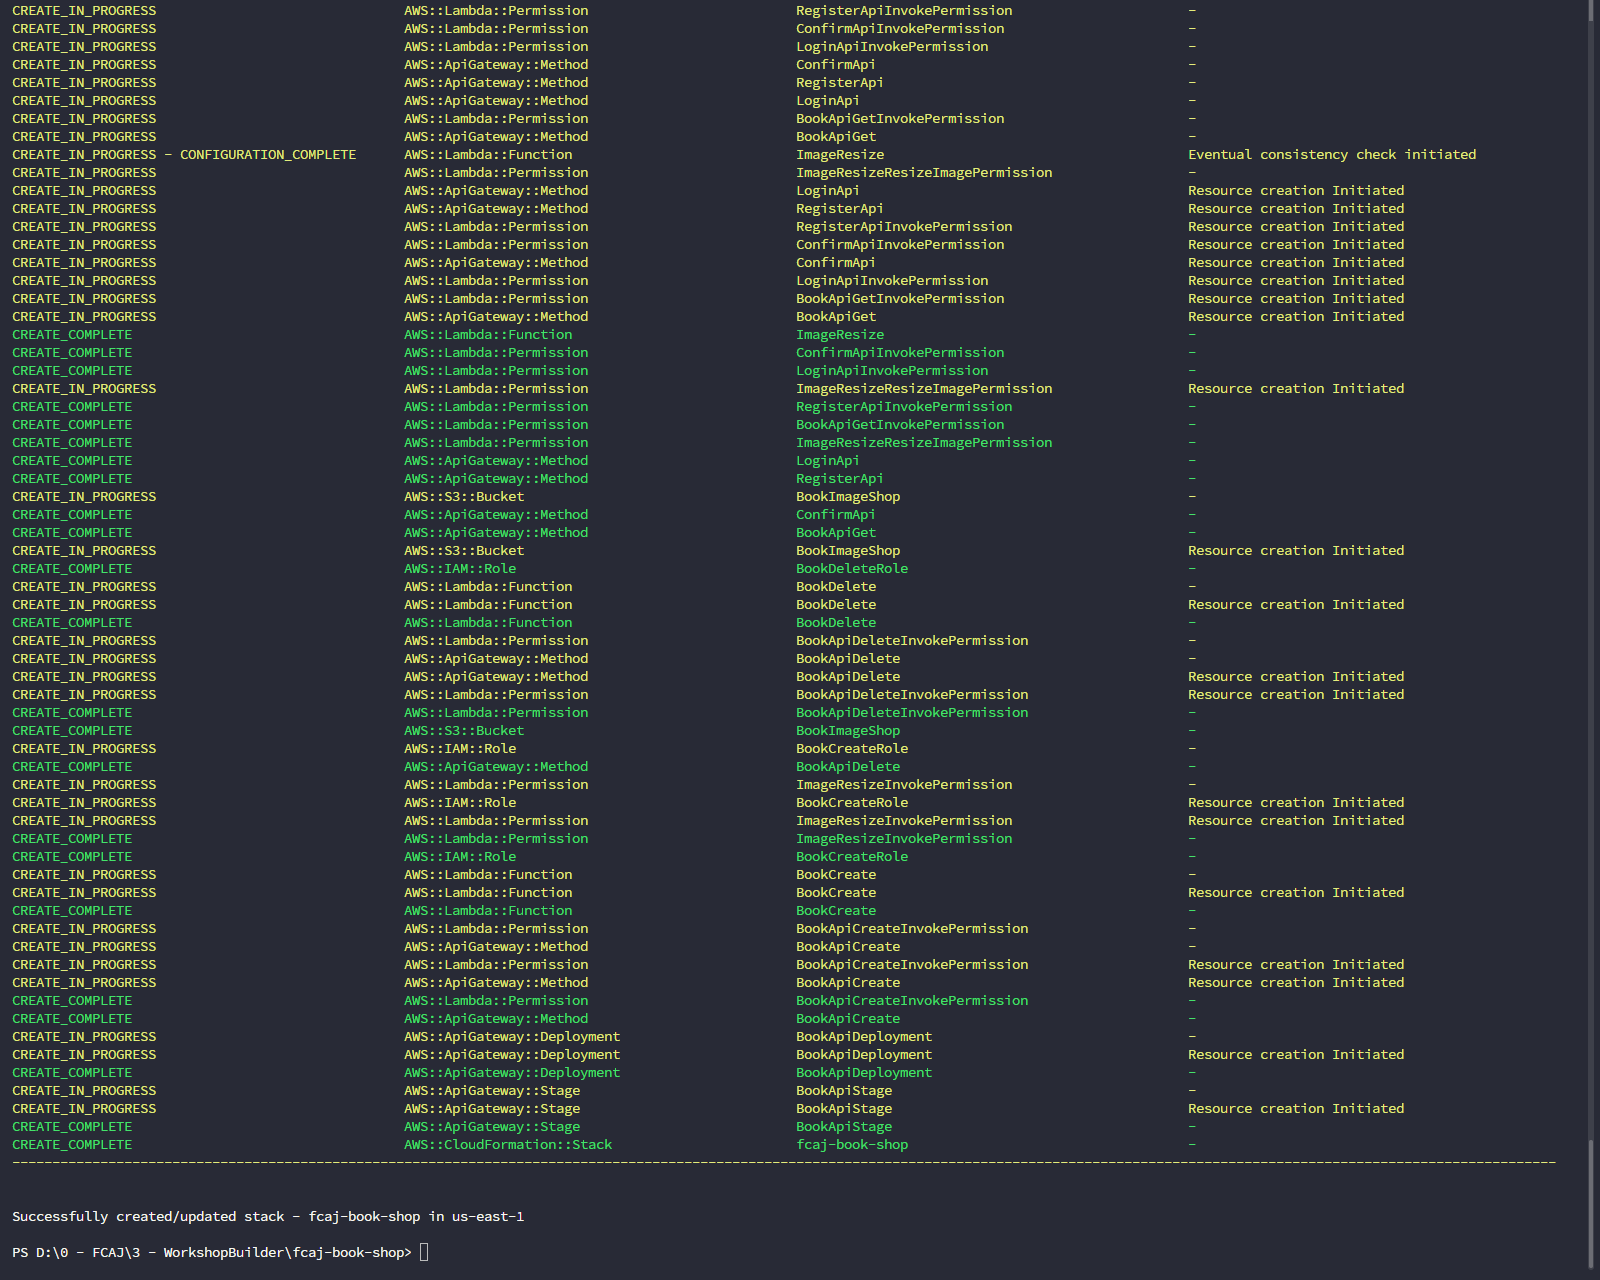
Wait for the CloudFormation stack to finish creating all resources.
Configure DNS
- Follow this instruction if your domain registrar isn’t AWS.
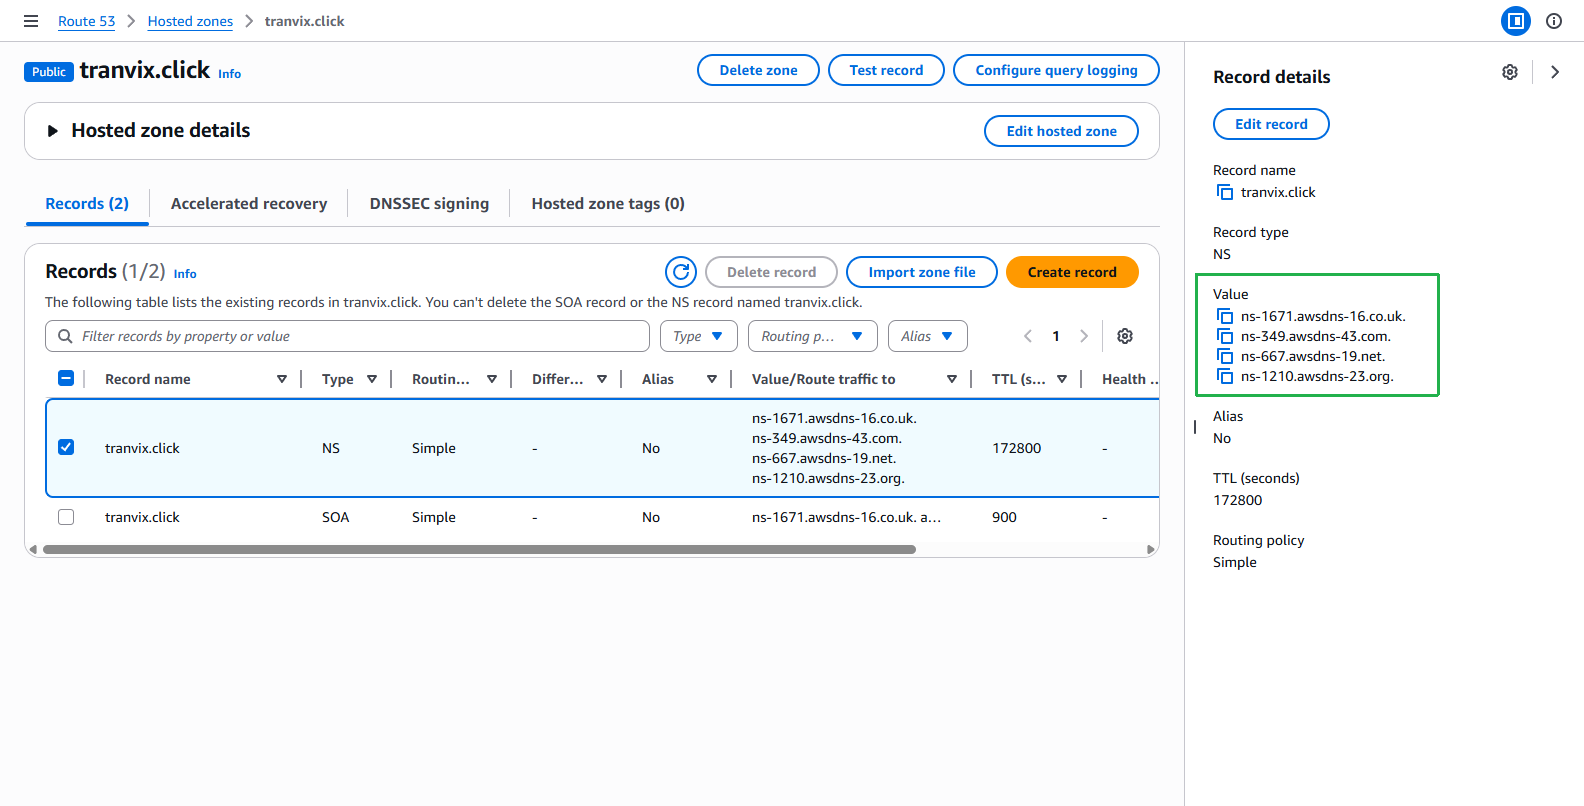
- Copy these NS type records from your Route53 hosted zone.
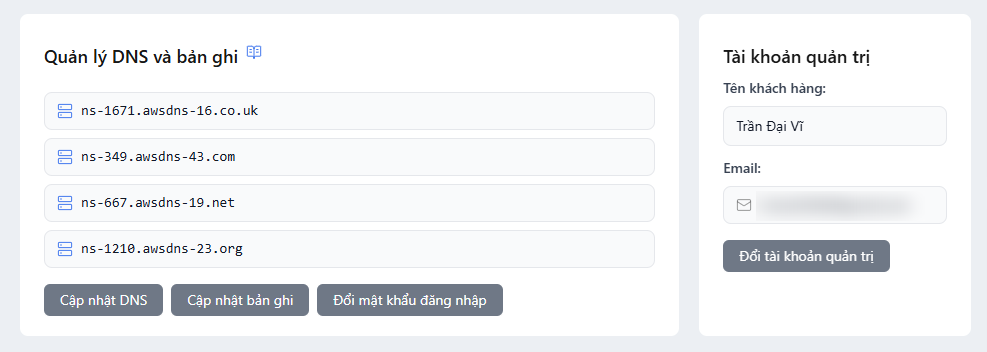
- Paste those NS records to your DNS domain registrar.
- Copy these NS type records from your Route53 hosted zone.
Deploy CloudFront, ACM Certificate, and Route 53 Record
Get the Managed-CachingOptimized cache policy ID by running the following command.
aws cloudfront list-cache-policies --type managed --query "CachePolicyList.Items[].CachePolicy.{Name:CachePolicyConfig.Name, Id:Id}" --output table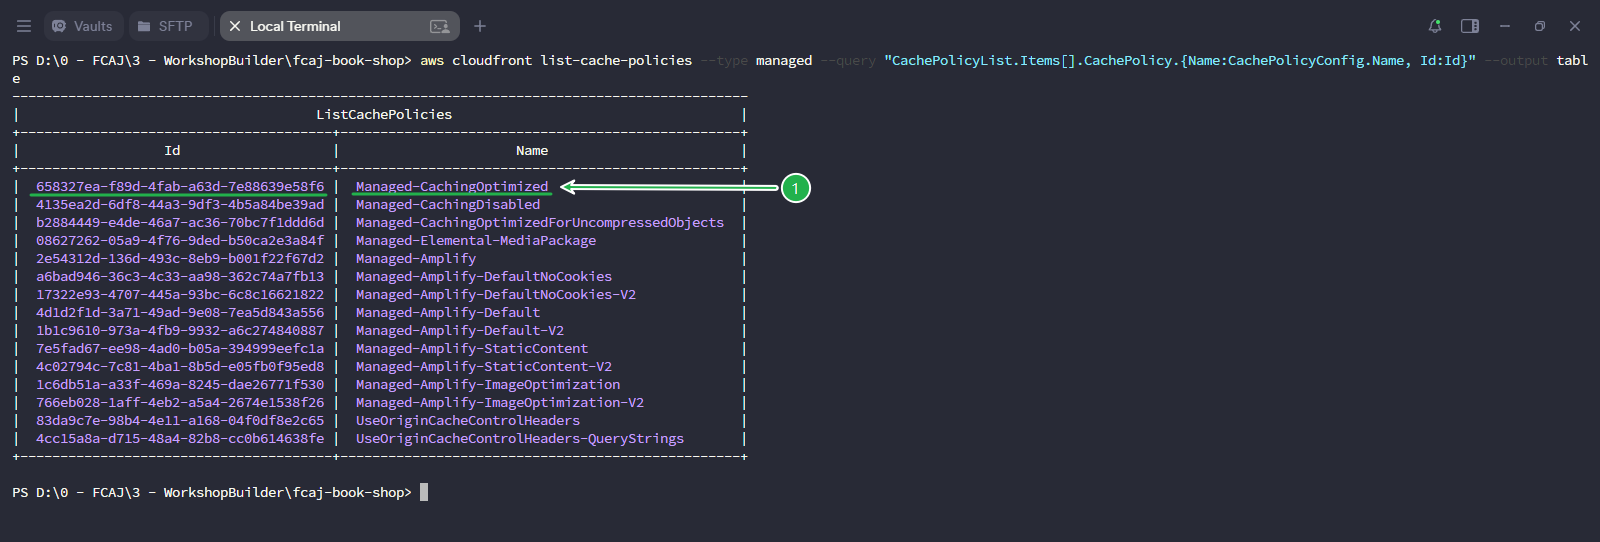
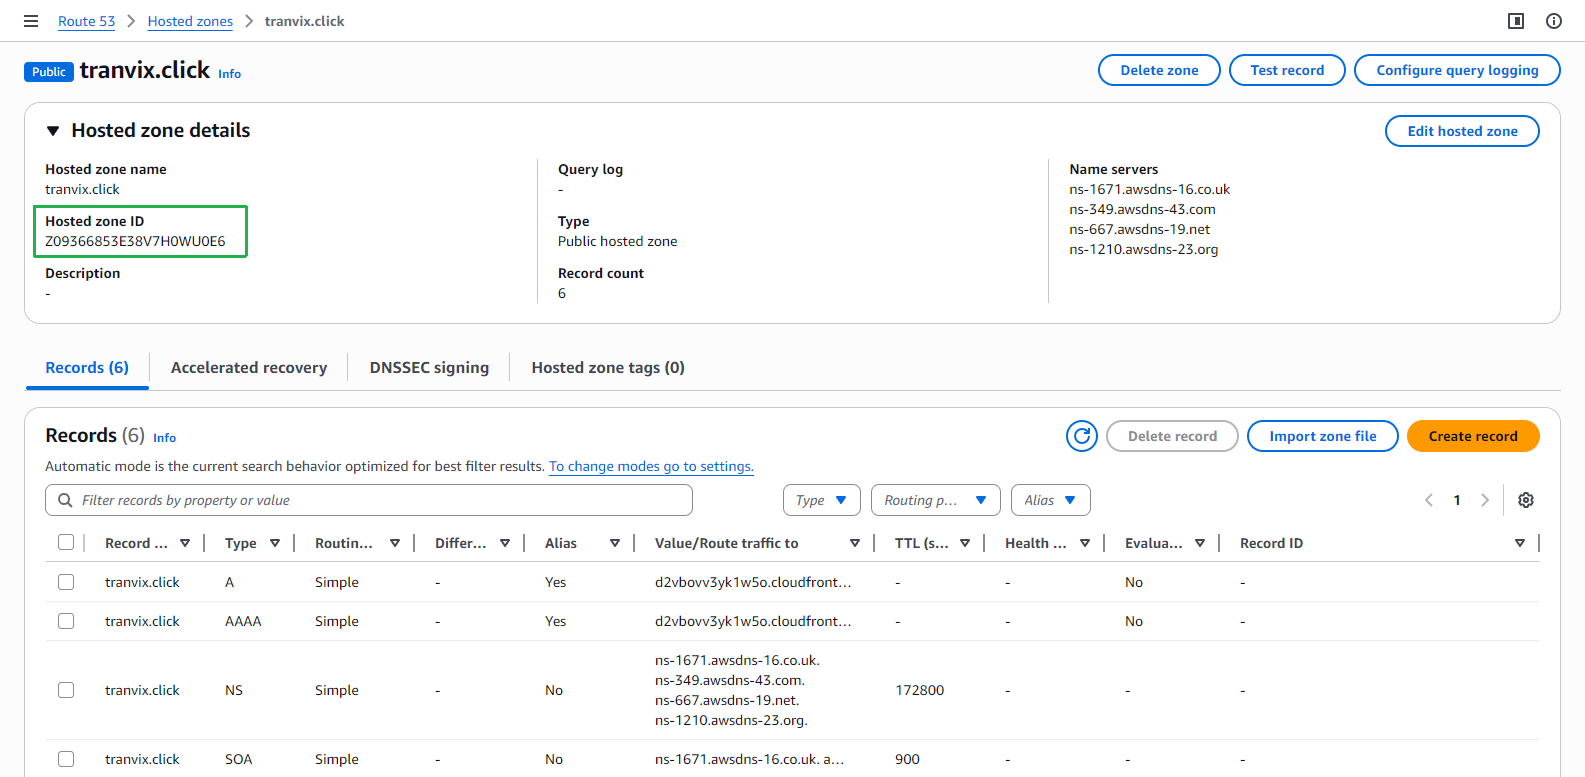
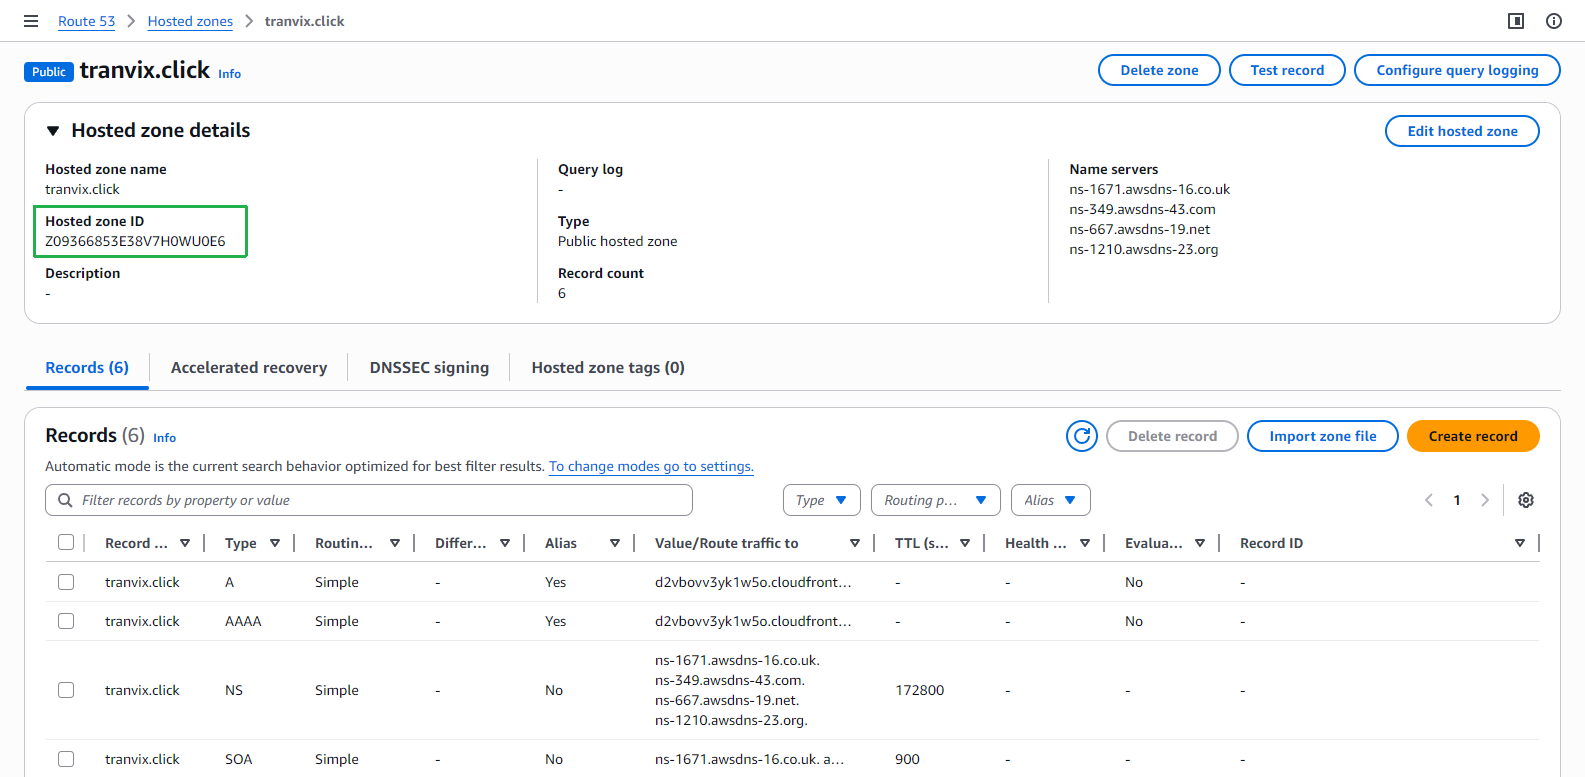
Go to the Route 53 console to get your Hosted zone ID.
Open template.yaml and add the following parameters.
cachePolicyId: The ID of the Managed-CachingOptimized cache policy from the previous step.
cloudFrontHostedZoneId: The hosted zone ID for CloudFront distributions (
Z2FDTNDATAQYW2— this is a fixed value for all CloudFront distributions). See AliasTarget HostedZoneId for more details.route53HostedZoneId: Your Route 53 hosted zone ID.
cachePolicyId:
  Type: String
  Default: 658327ea-f89d-4fab-a63d-7e88639e58f6

cloudFrontHostedZoneId:
  Type: String
  Default: Z2FDTNDATAQYW2

route53HostedZoneId:
  Type: String
  Default: Z09366853E38V7H0WU0E6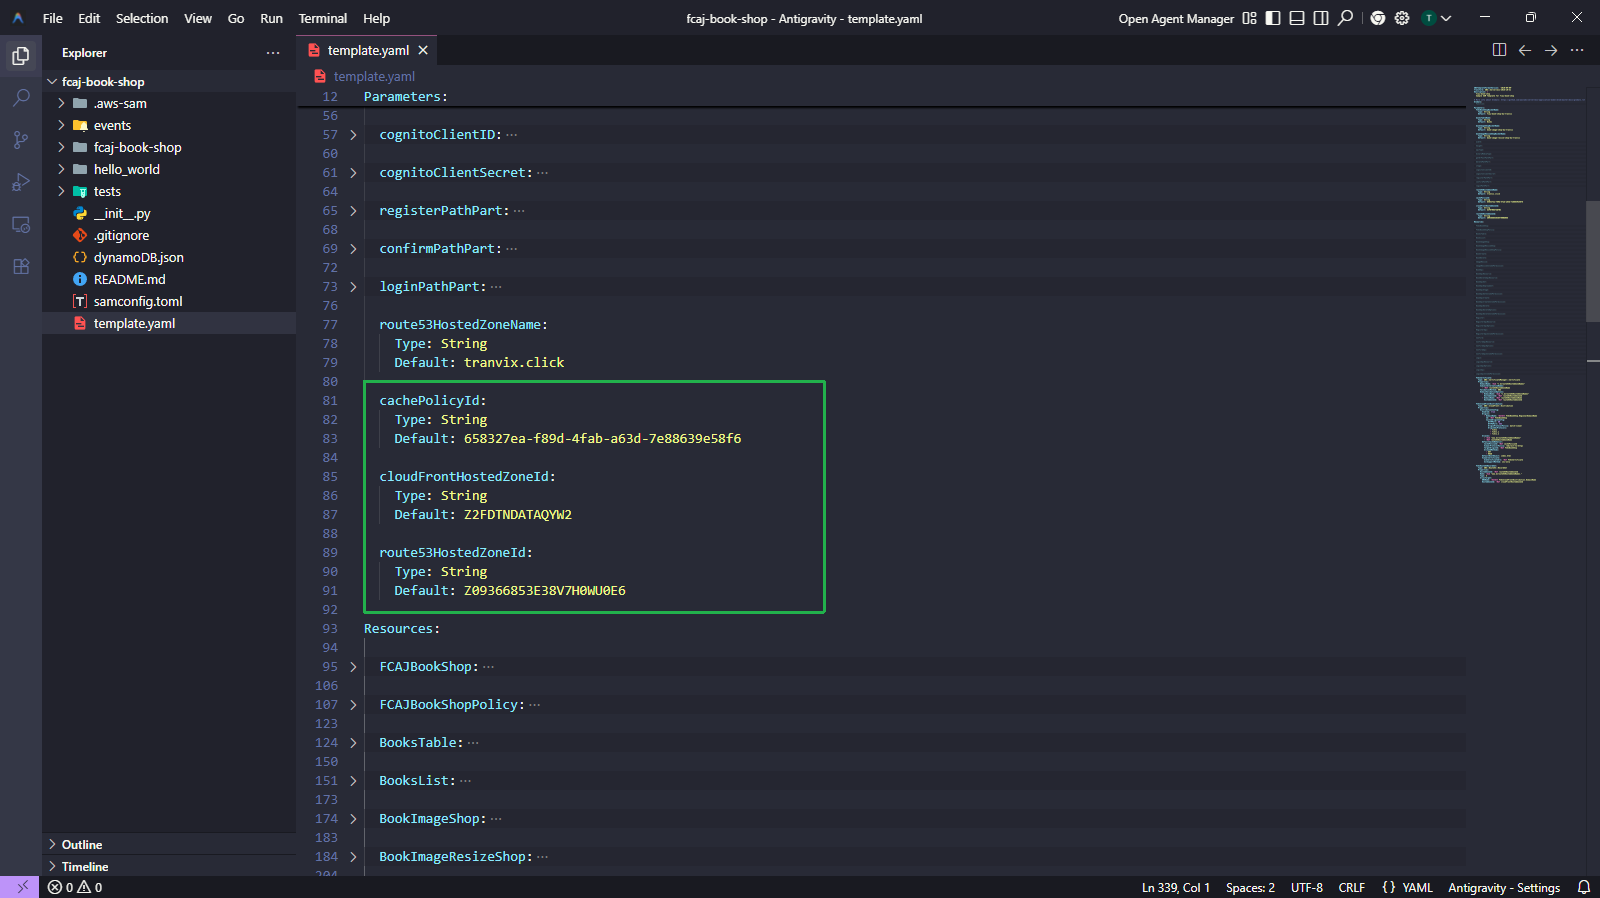
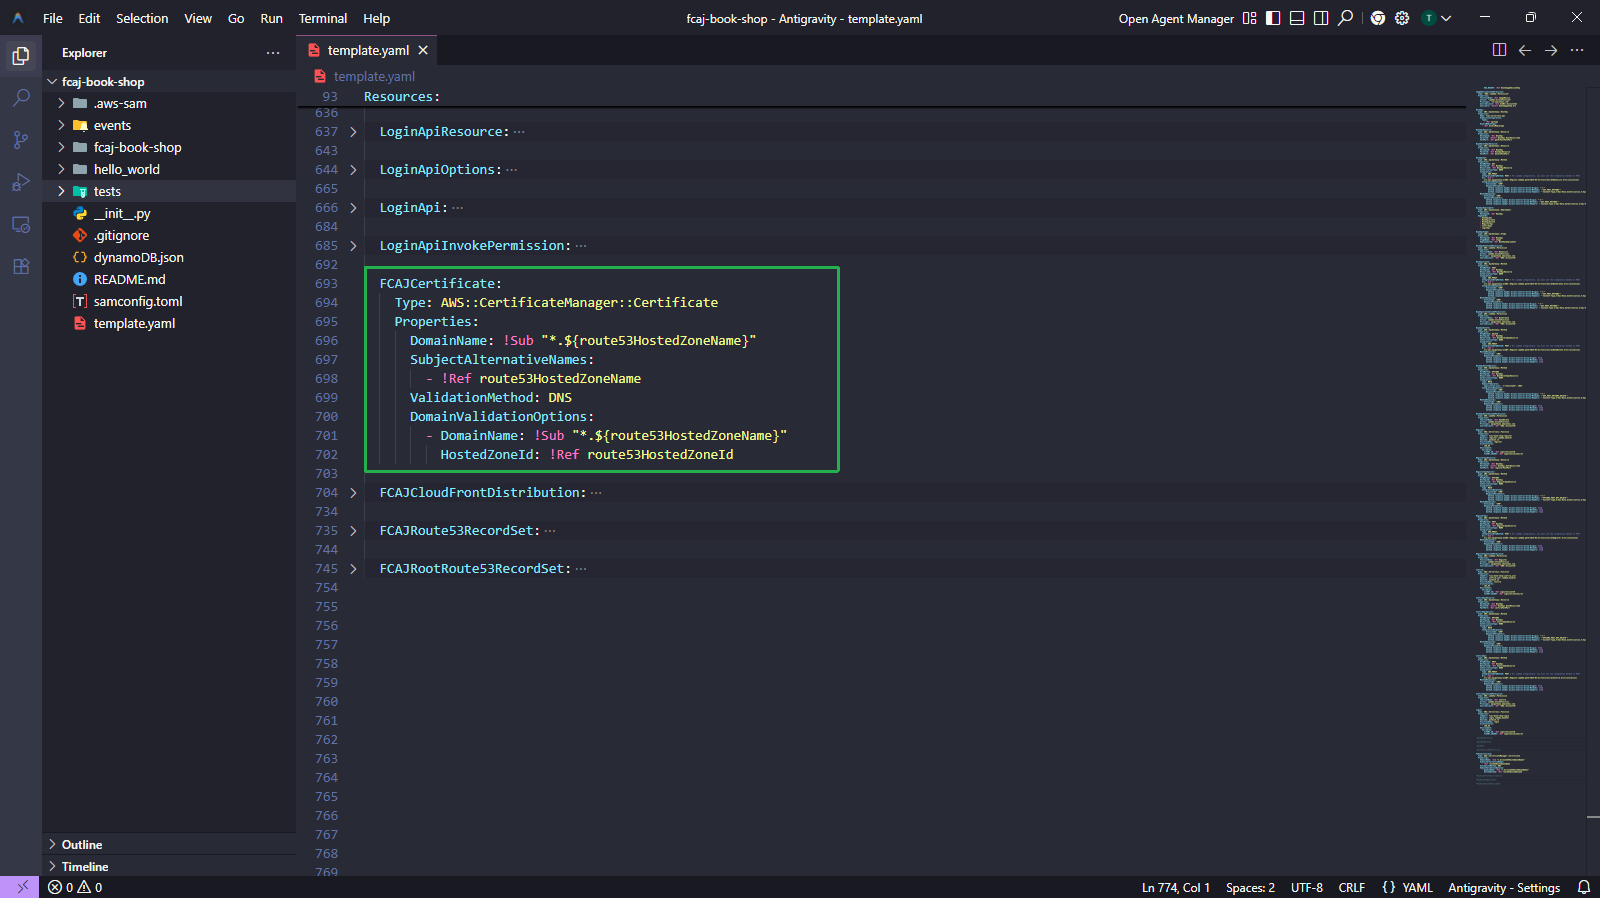
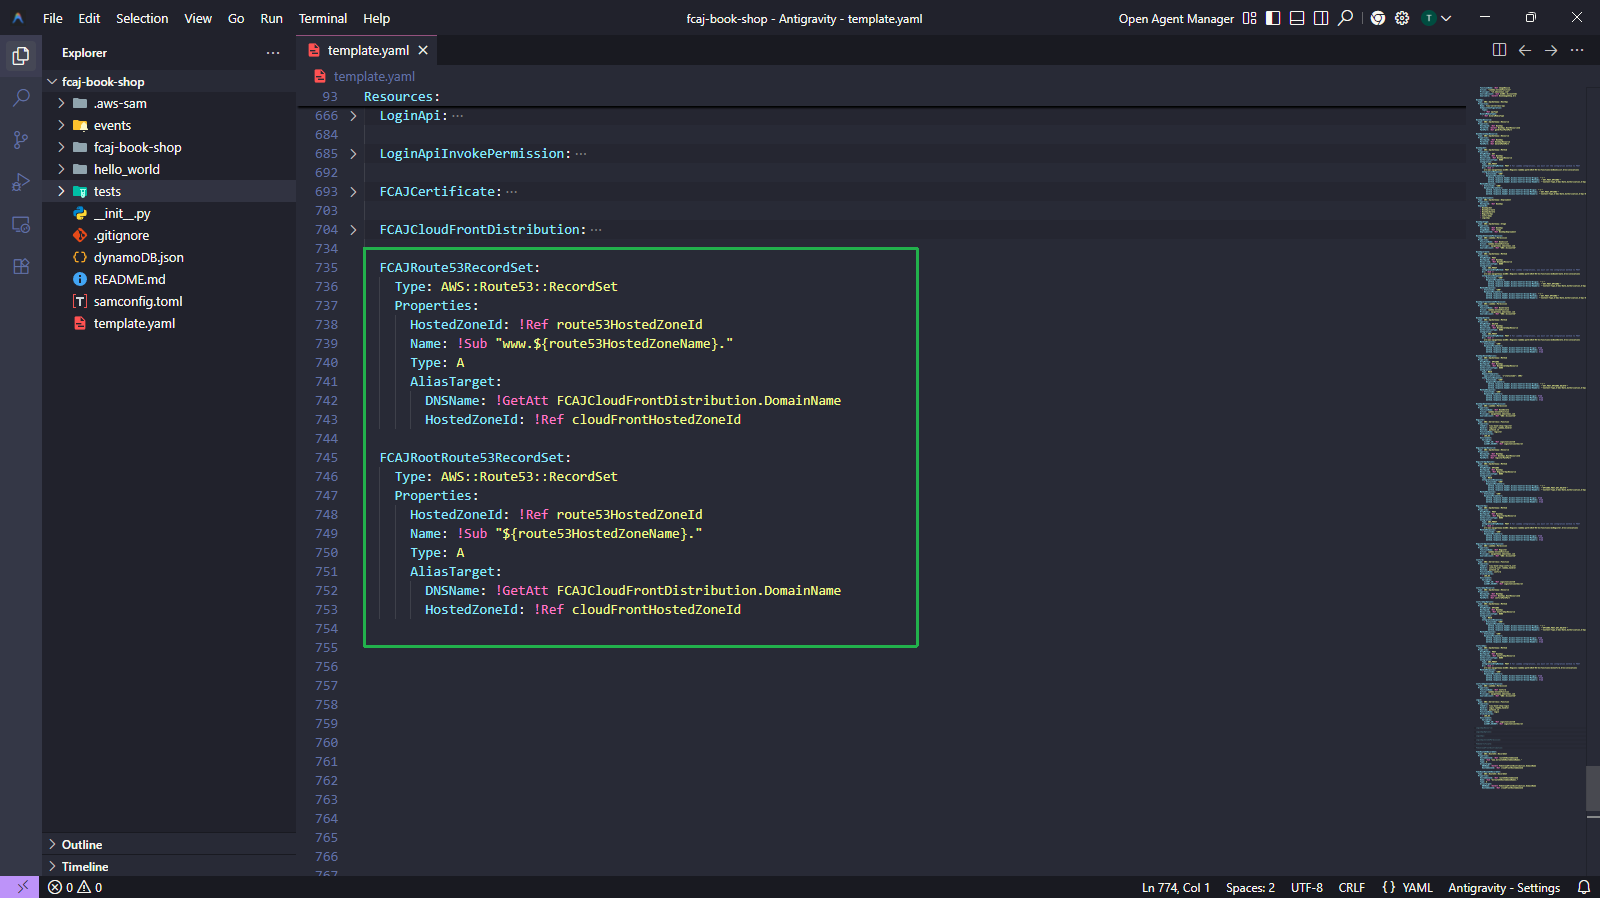
In the same template.yaml file, uncomment the following resource blocks:
FCAJCertificate — creates an ACM certificate with DNS validation.
FCAJCloudFrontDistribution — creates a CloudFront distribution.
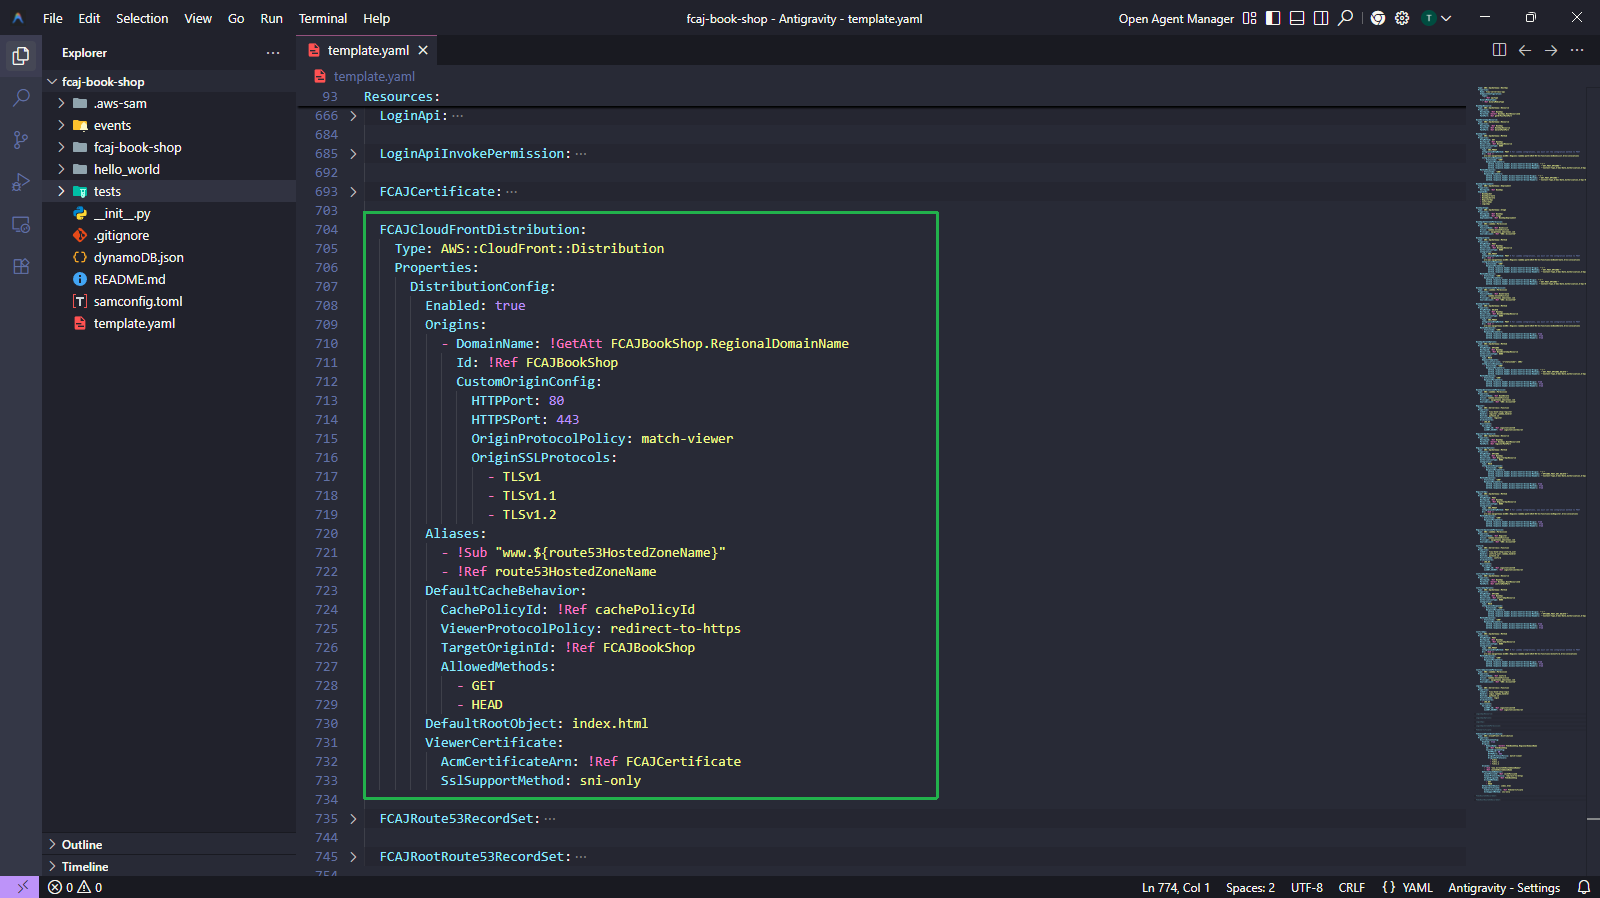
FCAJRoute53RecordSet and FCAJRootRoute53RecordSet — creates Route 53 A records pointing to the CloudFront distribution.
Run the below commands again to build and deploy the new resources.
sam validate
sam build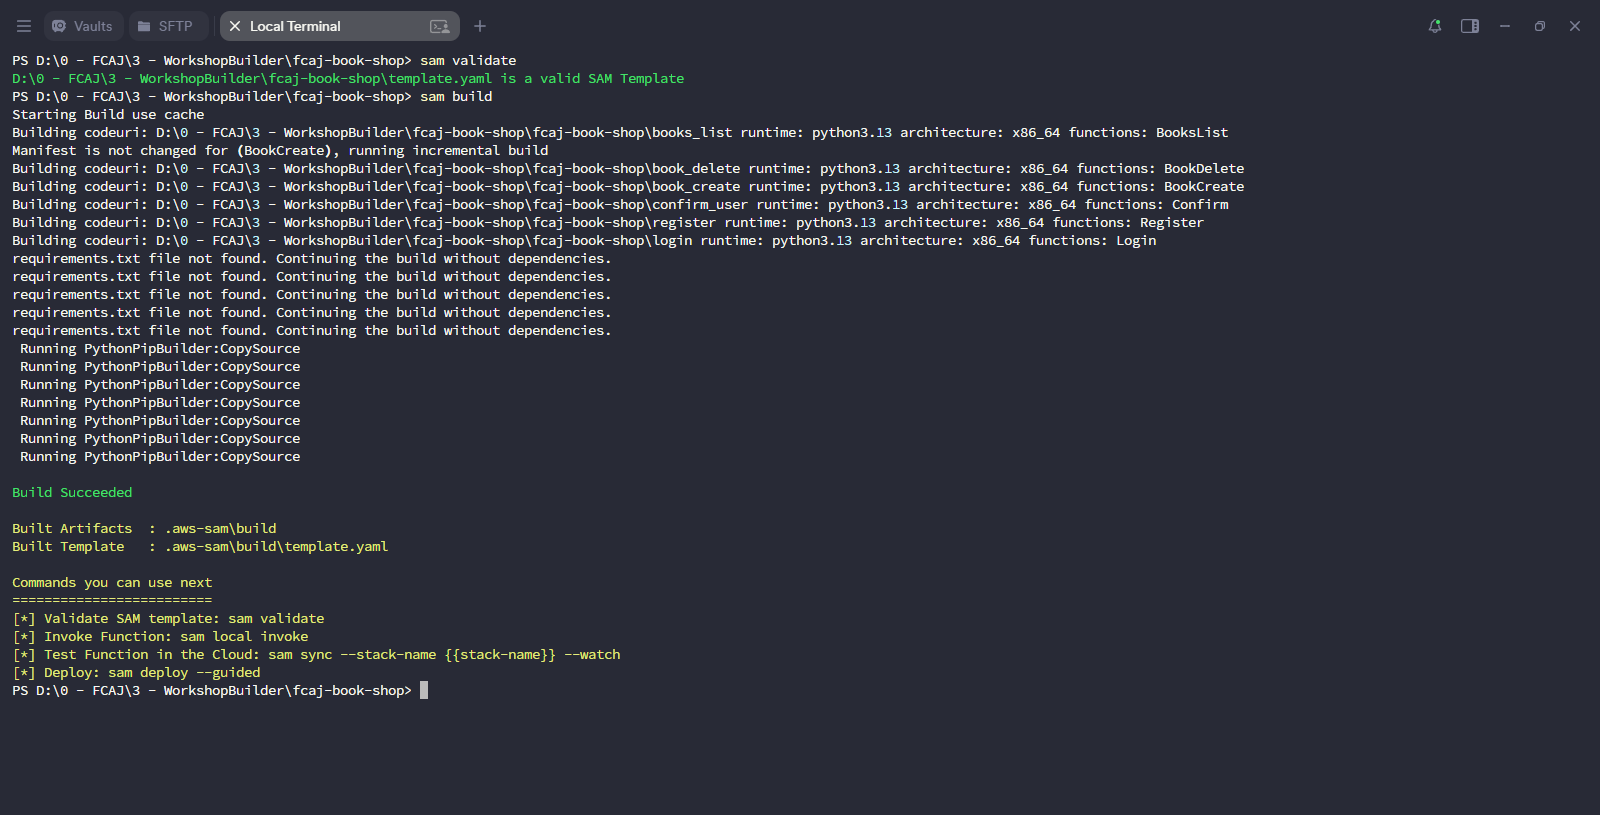
Deploy the updated stack.
CloudFront Distribution can take a while to complete, so please be patient.
sam deploy
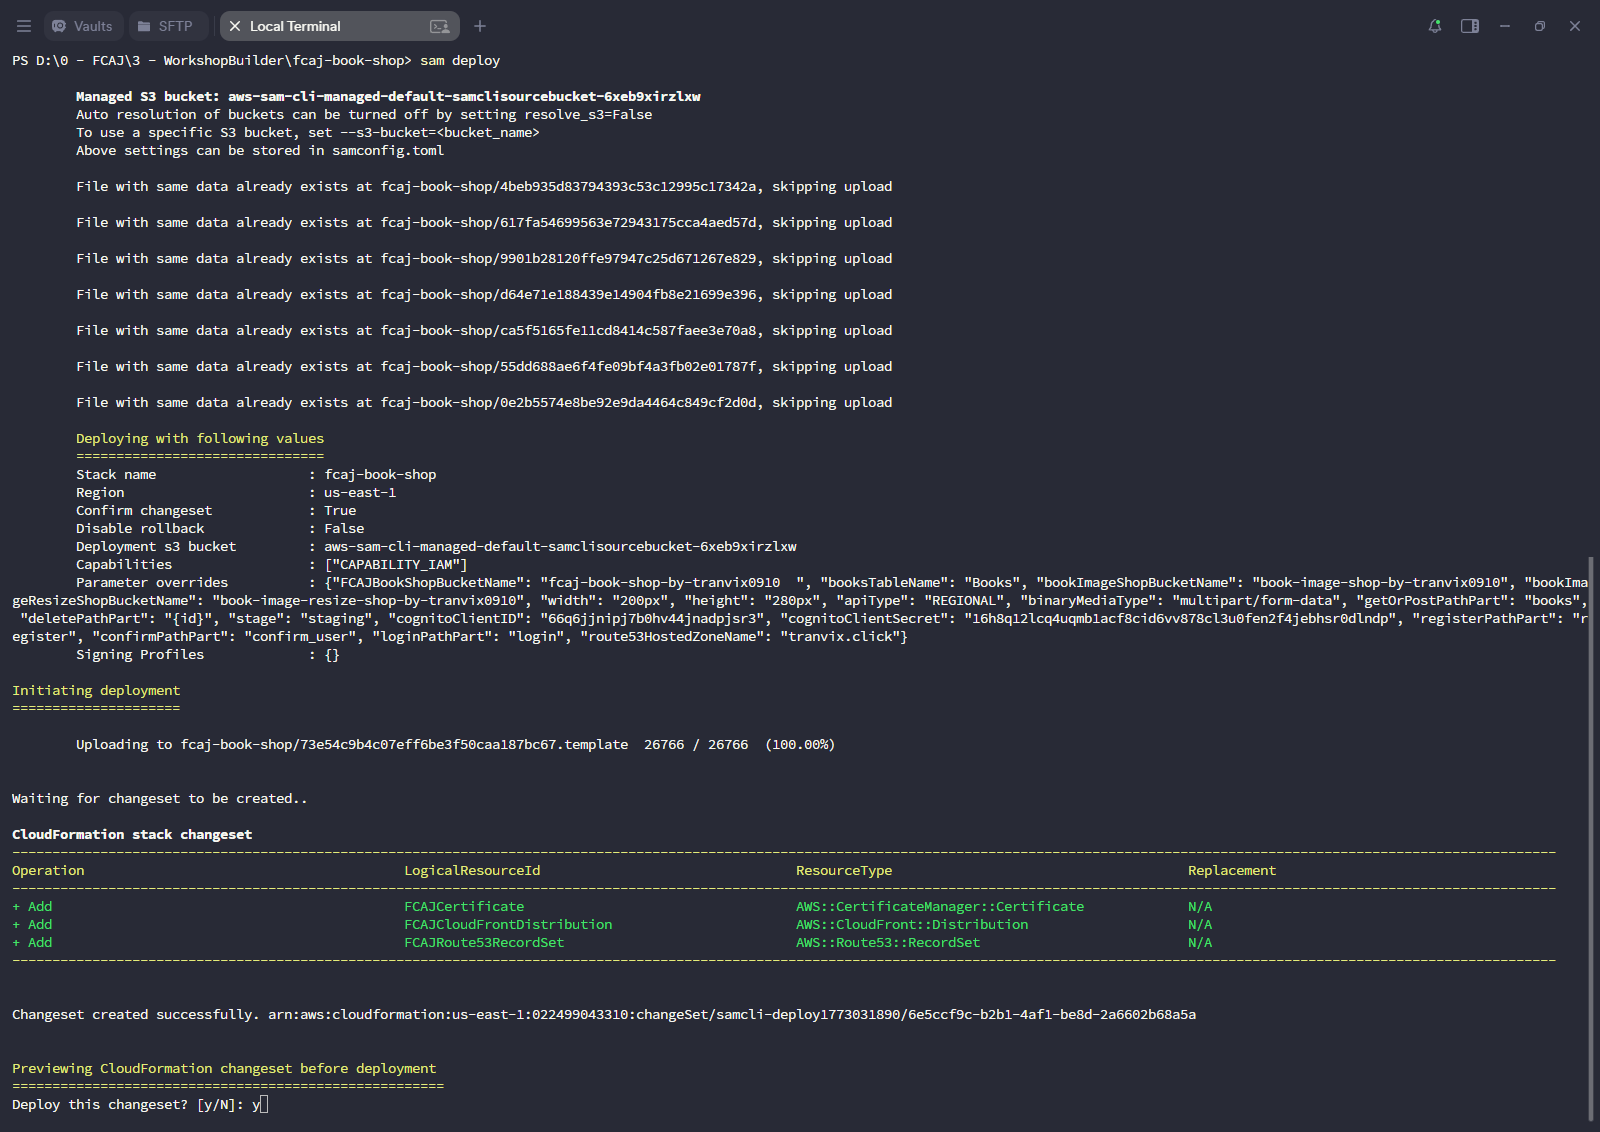
Wait for the CloudFormation stack to finish creating the Certificate, CloudFront Distribution, and Route 53 Record Set.
Verify the Route 53 hosted zone now has the additional records (A, AAAA, CNAME).
Build and Upload the Frontend
Clone the FCAJ Workshop Serverless frontend repository.
- Open a terminal in the folder where you want to save the source code.
- Run the following commands.
git clone https://github.com/tranvix0910/FCAJ_Workshop-Serverless.git
cd FCAJ_Workshop-Serverless
Open FCAJ_Workshop-Serverless with VSCode and edit.
Open src/App.js and change
isAdmin: trueas shown below.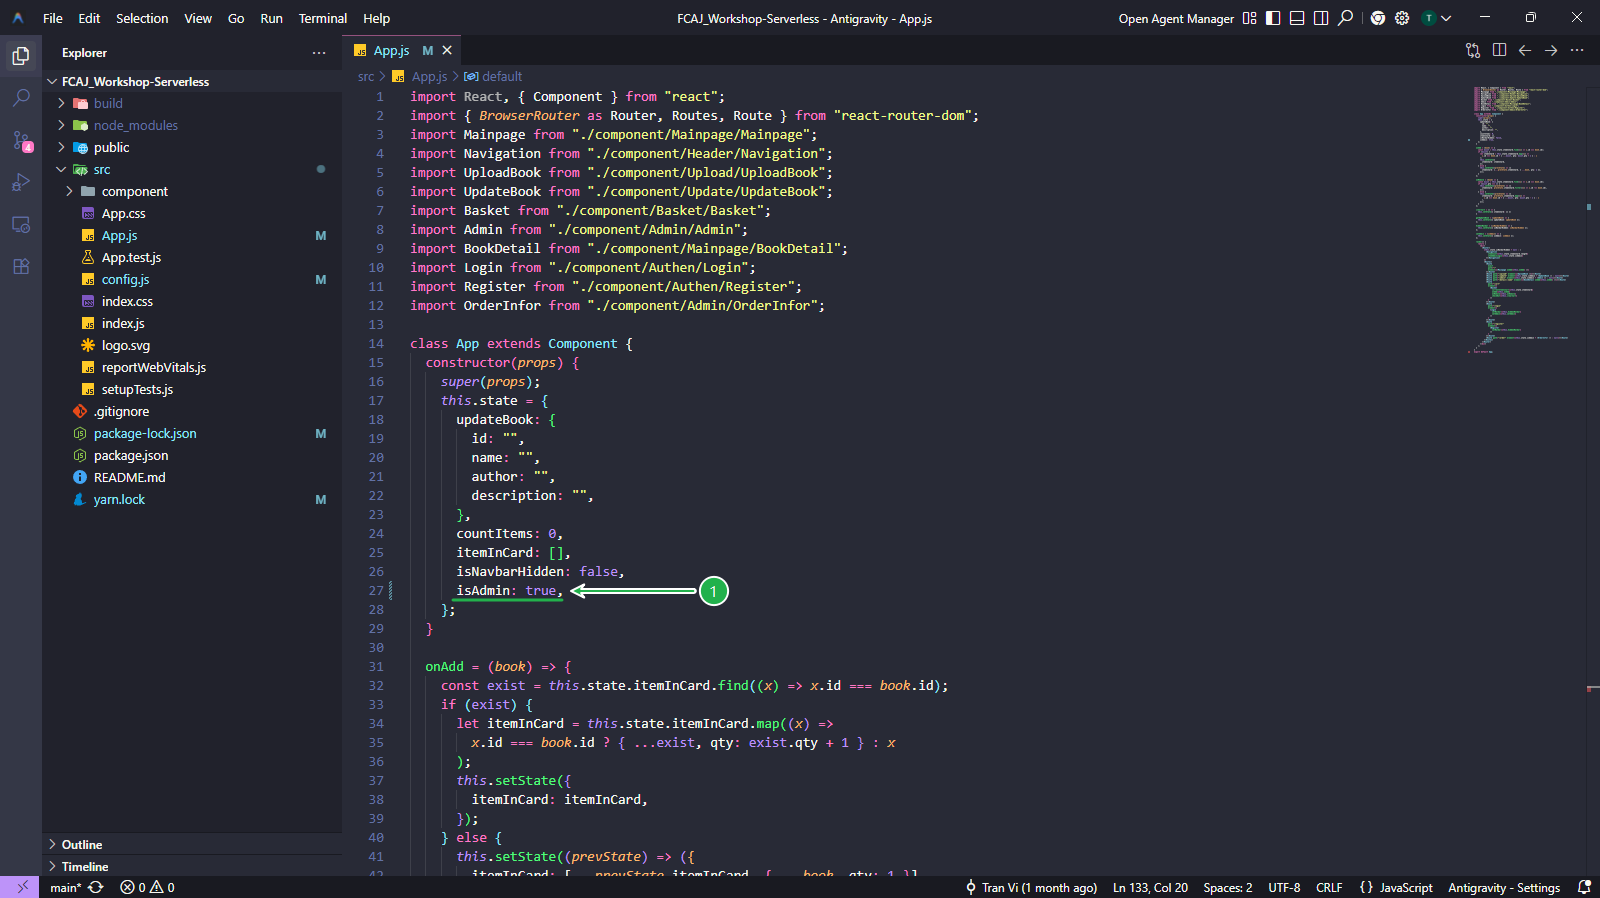
Go to the API Gateway console, select the API fcaj-serverless-api, navigate to Stages → staging and copy the Invoke URL.
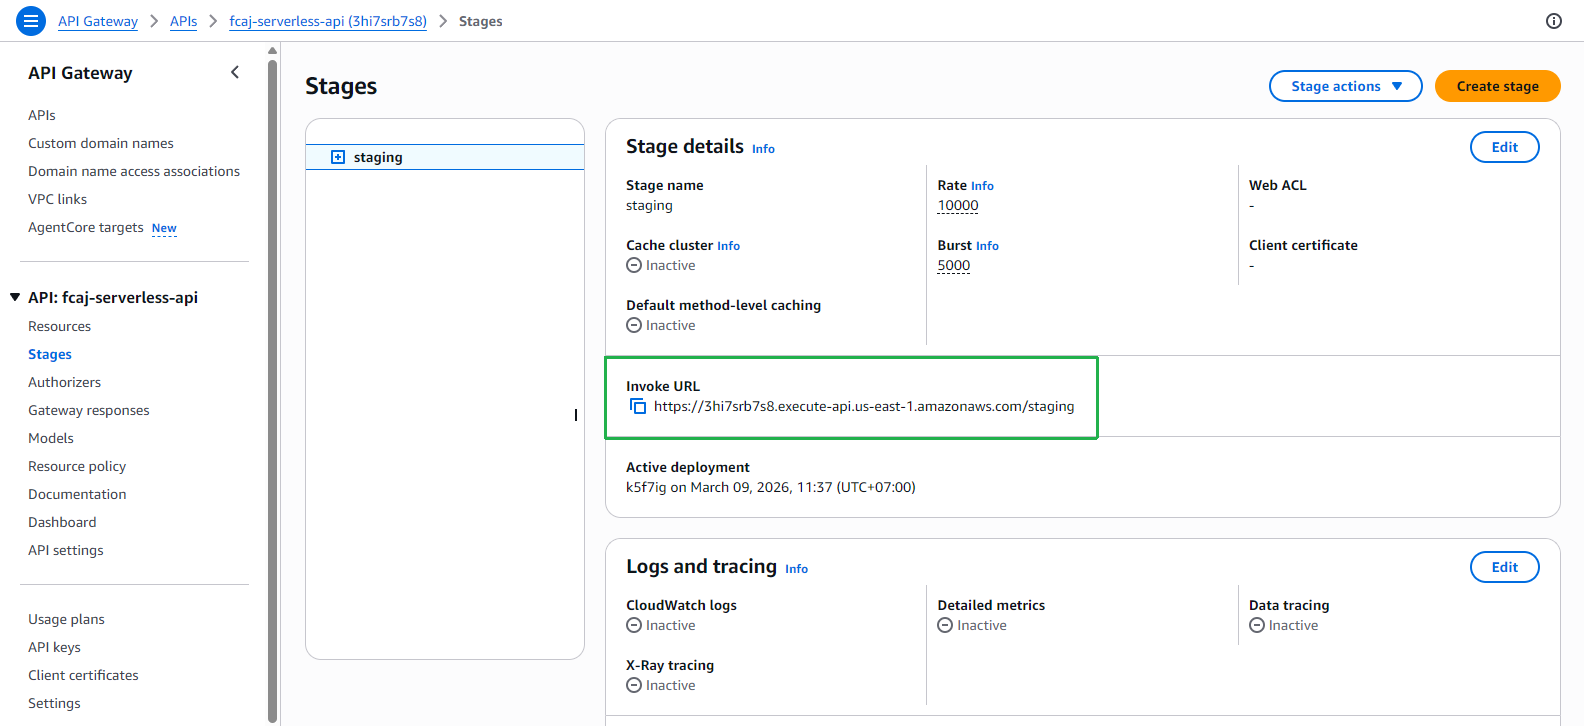
Open src/config.js and update:
APP_API_URL: Paste the Invoke URL from the previous step.
DEFAULT_REGION: Set it to
us-east-1.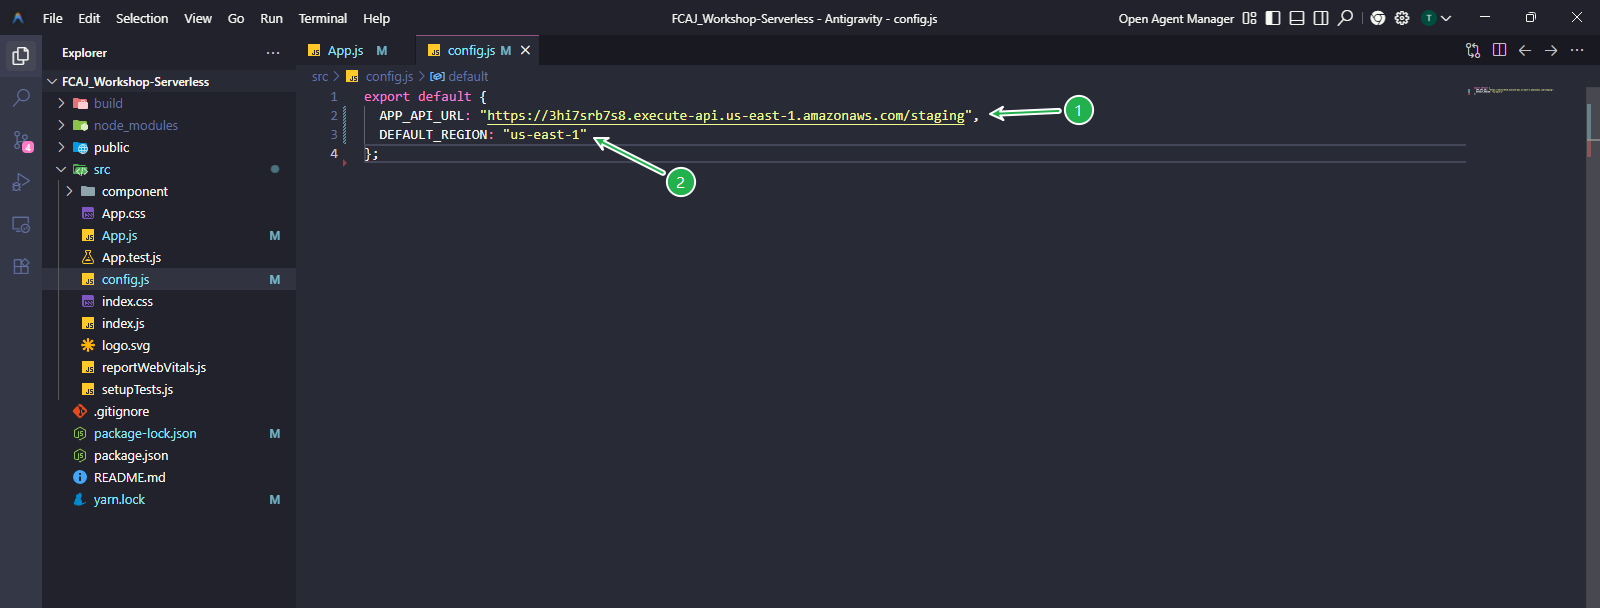
Install the project dependencies and build the front-end application.
npm install --force
npm run build
If npm install (without --force) fails due to dependency conflicts such as ERESOLVE overriding peer dependency, use npm install --force to force the installation even though some packages are outdated.
Upload the build folder to your S3 bucket.
aws s3 cp build s3://fcaj-book-shop-by-tranvix0910 --recursive
Replace fcaj-book-shop-by-tranvix0910 with the name of the S3 bucket you created during the sam deploy step.
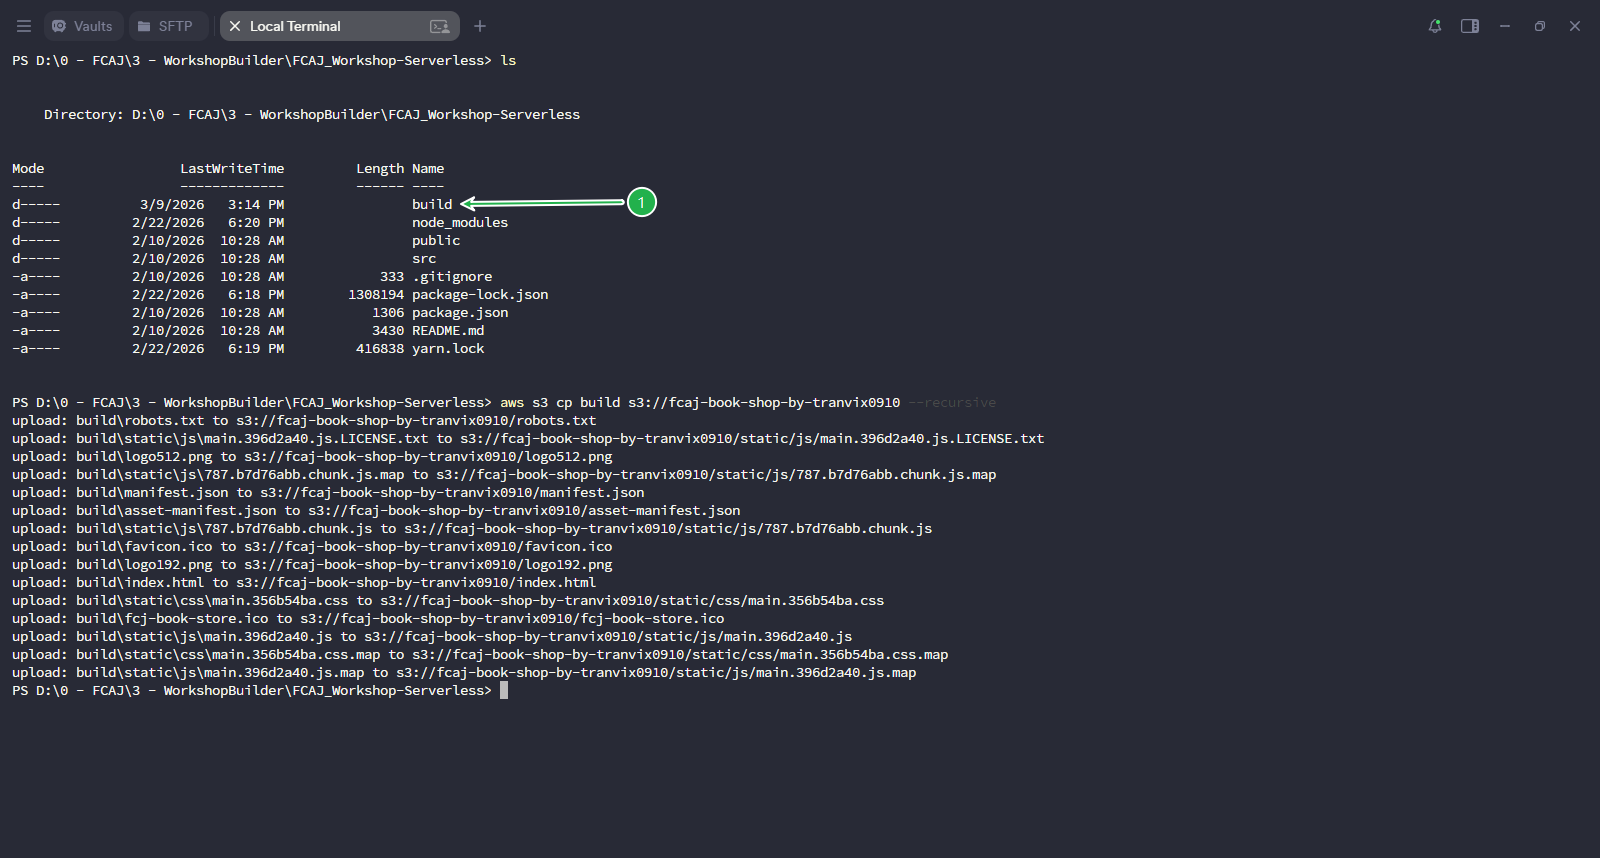
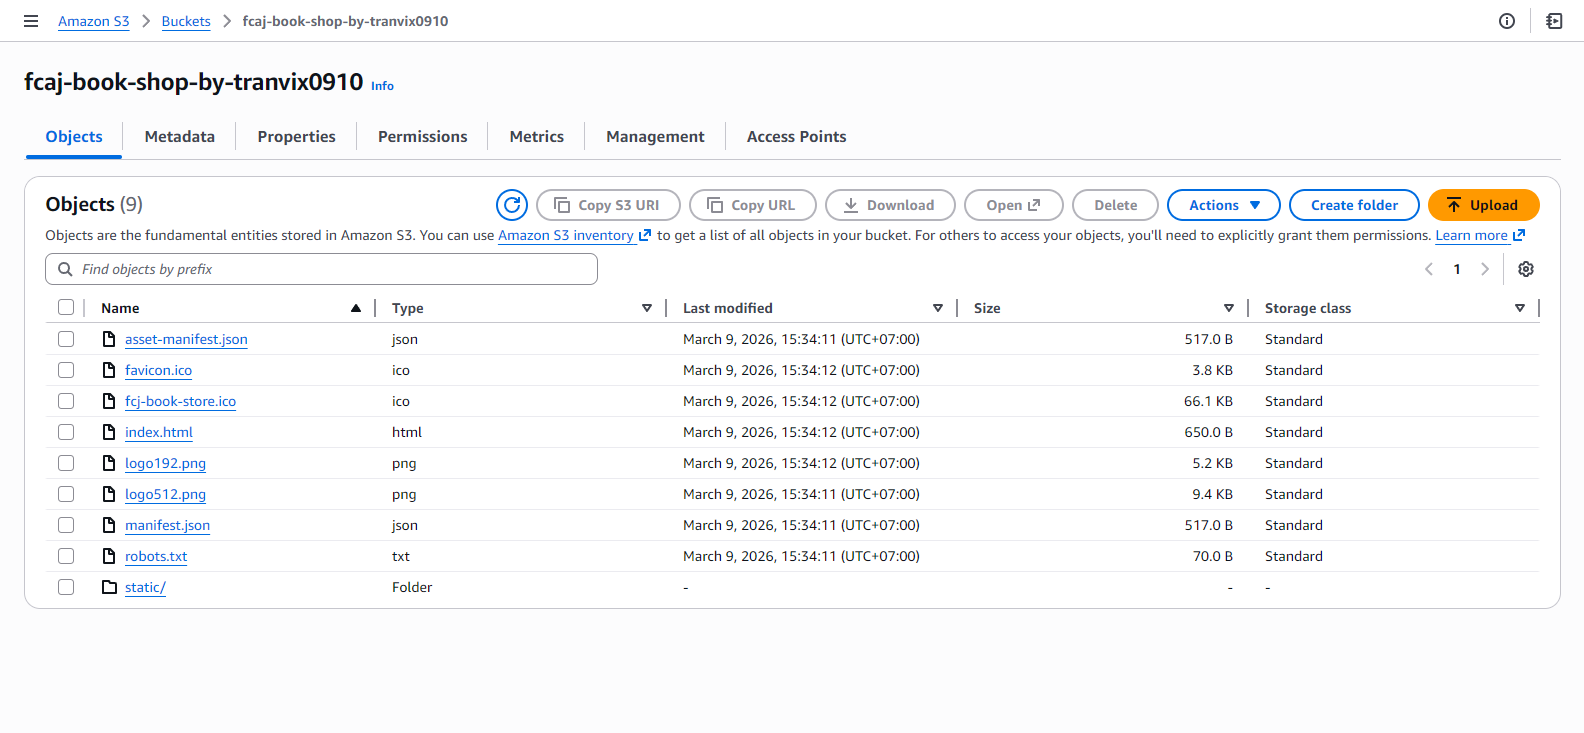
Verify that all files were uploaded successfully by checking the Objects tab of your S3 bucket.
Open your domain URL (e.g.,
https://tranvix.click) in your browser to confirm the application is running correctly.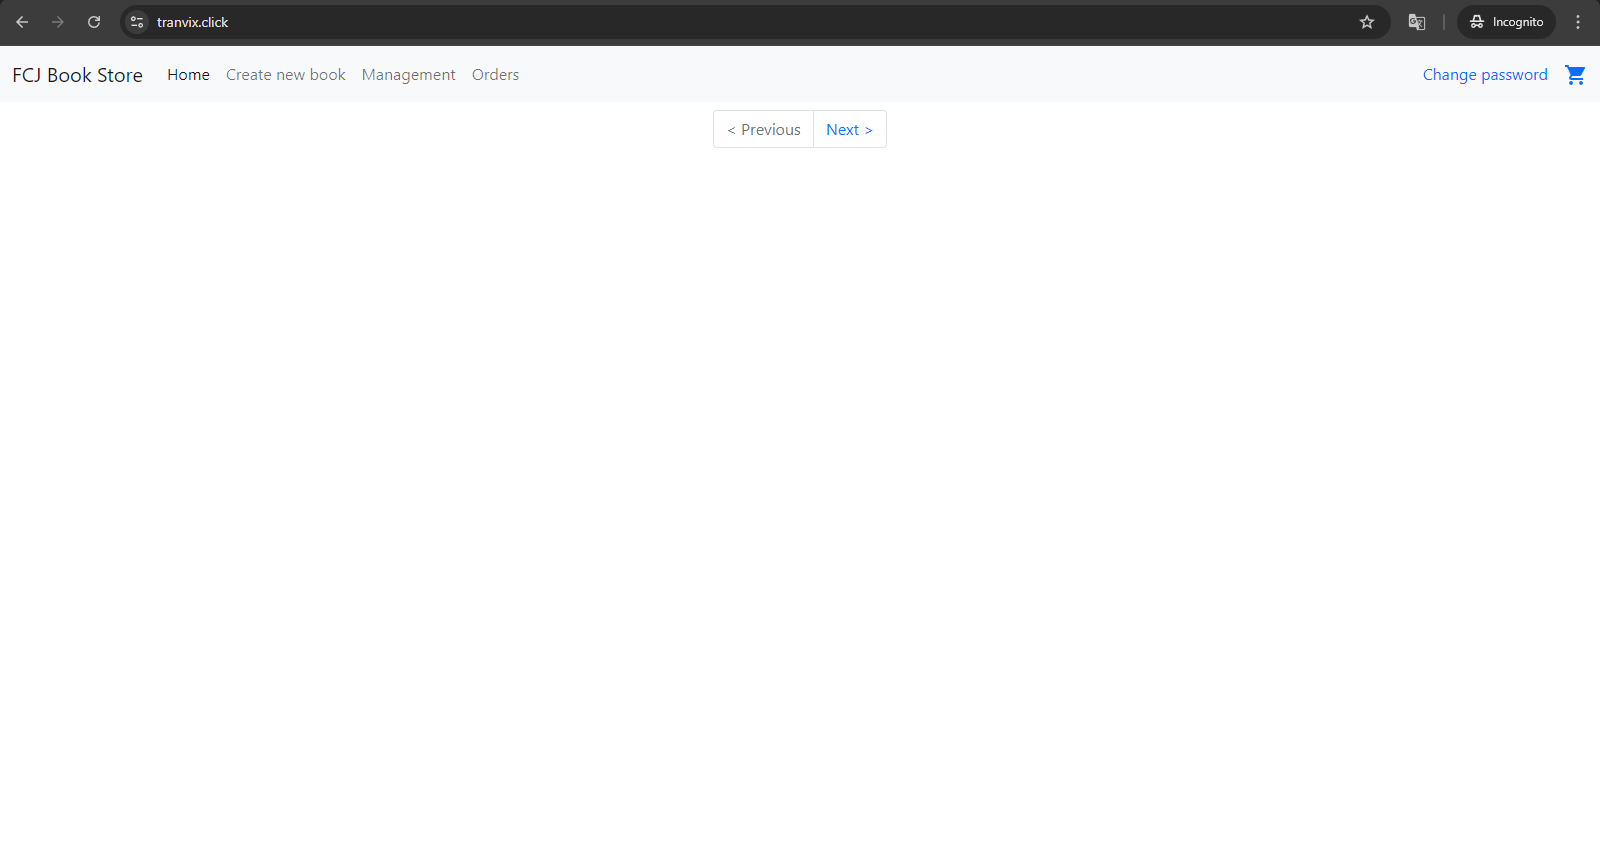
We have successfully rebuilt and deployed the web application. We are now ready to proceed with the main workshop content.